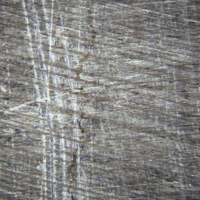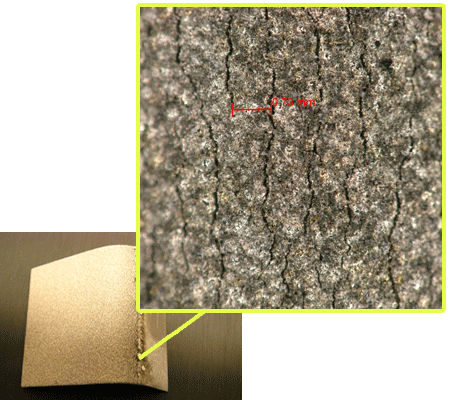
The Coating of Aircraft Turbine Engines Taken by X-Loupe product
Taken by X-Loupe G20* 300X lens

The Coating of Aircraft Turbine Engines

The aircrafts’ turbine engines work under the extreme condition with high pressure, thin air and extremely cold temperature in high attitude. The requirements of manufacturing aircraft turbine engines are much higher than other engines for the safety and maintenance reasons. For example, the alloy materials for the coating and the surface treatment of the turbine engines determine the performance, durability, and the cost of the maintenance of the engines in the future.

One of the most common techniques to examine the quality of the coating is the visual inspection. The visual inspection can determine how the coating is applied and covered on the engines. However, some specific details and defects are not easy to be recognized by naked eyes and it is bulky and not efficient to examine the coating subjects underneath the microscopes sometimes. Moreover, the shape of some subjects or workpieces is not easy to fit between the objective lensand the stage of the microscope, either.

Fluorescent Penetrant Inspection
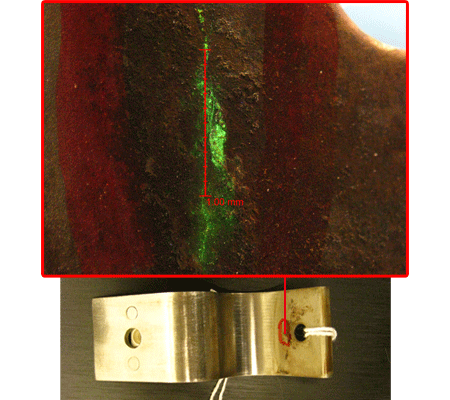
Taken by X-Loupe A201* 60X UV lens

Fluorescent Penetrant Inspection in Non-Destructive Testing

One of the techniques that are used in penetrant testing in NDT is applying the fluorescent dye on the metal surface. Sometimes scratches are similar to cracks to human eyes. It is easy to remove the fluorescent dye from the metal surface if the suspicious marks on the surface are scratches. The dye will penetrate into the cracks after wiping off the extra dye and the rest of the dye inside the cracks can be detected by Ultra Violet light.

Black light lamps are the most common equipment for checking fluorescent dye inside the cracks on the metal. However, it is dangerous to human if exposed overtime, and it is not easy to document the cracks or take pictures. Therefore, it is challenging to record the cracks and to do the measurements on the cracks.

Fatigue Crack on Landing Gear,Crack length:3537.45 um
Crack length: 3537.45 um

Fatigue Crack on Landing Gear Support

Over 80 percent of the inspections done to an aircraft are visual inspections.

Most of signs of damage are too small to be detected easily by visual means; no complicated inspecting process and Keep away time-consumer; to locate the tiny fatigue cracks with ease only by X-Loupe A201* 150x lens.

*Note: This series has been discontinued. Recommend the alternative products HMS series for the microscopic shooting.